
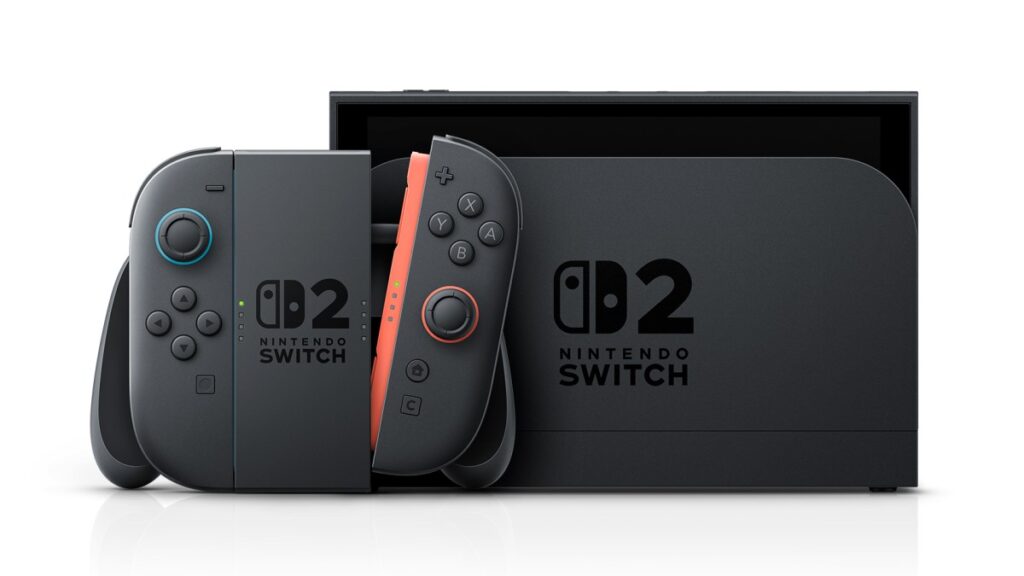
Quick answer: If you have both consoles, use Nintendo’s local System Transfer during your new Nintendo Switch 2’s first-time setup. Connect both consoles to the internet, sign into the same Nintendo Account, choose Start System Transfer on Switch 2, then on the old Switch open System Settings → System → System Transfer to Nintendo Switch 2. Follow the paired prompts to move eligible users, games, saves and settings.
Important before you begin: Transfers may remove save data from your original Switch, depending on whether the game supports Save Data Cloud Backup and whether the user has a linked Nintendo Account. A server transfer is more destructive: it initializes the original console and deletes its data. Read the differences before selecting either option.
What transfers—and what does not
Nintendo says System Transfer can move user profiles, linked Nintendo Accounts, friends and play activity, eligible save data, parental-control settings, Miis, system-memory screenshots and videos, and network settings. Purchased compatible digital games can be downloaded again on Switch 2 afterward; they are not guaranteed to be immediately ready to launch when the account transfer ends. Internet access is required for redownloading.
Not everything transfers: Bluetooth audio connections, custom button mappings and regional/language/time settings need to be configured again. Nintendo Switch 2 uses microSD Express cards for expanded storage rather than standard microSD. Also check game compatibility: some old Switch games do not run fully or at all on Switch 2.
Before local transfer
- Keep both consoles close by and connect both to working internet. Charge them or connect power so the process is not interrupted.
- On the old Switch, ensure the user initiating transfer is linked to the Nintendo Account that you will use on Switch 2.
- Install any prompted system updates. On Switch, go to System Settings → System → System Update to check manually.
- Review special-game save handling and decide whether you need a separate backup or different transfer method. Do not assume a Nintendo Switch Online cloud backup exists for every game.
- If several people use the original console, let them know: Nintendo says a system transfer involves the source console’s user data, not just the account you sign in with.
Step 1: Start on the new Switch 2
- Power on Switch 2 and follow first-time setup until you reach System Transfer. Connect to internet and update when prompted.
- Choose Start System Transfer. If you intend to use a microSD Express card, follow the insertion prompt; otherwise choose Skip.
- Select Sign In to a Nintendo Account and use the Nintendo Account linked to the user initiating the move on your original Switch.
- Choose Next, place the consoles near each other and choose Done. Keep this screen open while you start the original console.
Step 2: Continue on your original Nintendo Switch
- From the old Switch HOME Menu, select System Settings → System → System Transfer to Nintendo Switch 2.
- Select Next, then choose Done when your Switch 2 is nearby and ready.
- Choose whether to redownload software and transfer Album screenshots/videos as part of the process, then select Next.
- Wait for the consoles to connect. On Switch 2, select Start Download when offered.
- Allow the new system to receive the data and restart. Finish the remaining Switch 2 initial setup steps, then choose OK on the old system after its transfer completes.
What happens to saves on your old Switch?
Nintendo’s detailed support instructions distinguish two cases for a local transfer. Save data for linked Nintendo Account users in games that support Save Data Cloud Backup remains on the old system and is copied to Switch 2. Save data for unlinked users or games that do not support cloud backup is moved and deleted from the old system during transfer. This distinction matters if you plan to keep using both consoles.
Games that use a shared save across users, such as Animal Crossing: New Horizons, have special handling and may require their own transfer process. Check Nintendo’s game-specific instructions before using a general system transfer to move one of these saves.
If you must trade in the old Switch first: server transfer
Nintendo provides a server-based alternative when you will lose access to the original Switch before getting the replacement. Use System Settings → System → System Transfer to Nintendo Switch 2 on the source and select the option indicating you do not have the other console yet. Follow the account verification, review the displayed Download Deadline, select Upload Data, then Start Initialization as directed.
Warning: The source Switch is factory-reset after upload, deleting data for all users. Nintendo says data can be stored on the server for up to one year, but the specific Download Deadline displayed is authoritative. On the new Switch 2, retrieve the uploaded transfer during initial setup and sign in with the same initiating Nintendo Account. Do not use this method casually just because the consoles are in different rooms.
If Switch 2 is already set up
Nintendo says a full System Transfer can be completed only during Switch 2’s initial setup. If setup is already finished, check Nintendo’s save-data transfer and cloud-backup options instead of immediately resetting the new system. Starting over can delete data created on the new console. A server-transfer retrieval may require initialization, so review that consequence before proceeding.
Official support
Nintendo documents the supported data, deletion behavior and both procedures in System Transfers to Nintendo Switch 2 and explains game compatibility in the Switch 2 transfer guide.
For most households, the safer choice is local transfer with both consoles present. Review any unusual saves first, keep the correct Nintendo Account handy, and do not select server transfer unless you are prepared for the original Switch to be wiped.